What’s the one thing that can instantly change the look and feel of your Brooklyn home without a full renovation?
Whether you live in a cozy Park Slope apartment, a classic Bed-Stuy brownstone, or a modern Williamsburg loft, wall painting is one of the easiest ways to brighten a room. In this guide, we’ll walk you through every step of wall painting, from prepping your space to applying the final coat. You’ll learn how to choose the right materials, fix common wall issues, work safely in tight city rooms, and plan your project like a pro.
Overview of Step-By-Step Wall Painting Tips for Brooklyn, NYC
- Assessing Your Wall
- Planning and Budgeting Your Painting Project
- Choose Primer, Color, and Finish Wisely
- Gather All the Paint and Materials Before You Start
- Prep Your Space: Clear, Clean, and Ventilate
- Prime Like a Pro: Cut In and Roll in Sections
- Apply Paint: First Coat, Second Coat, and Drying Times
- Remove Painter’s Tape Carefully
- Clean Up the Space
- Let the Paint Cure
Understanding Brooklyn’s Housing Stock
Brooklyn is famous for its mix of old brownstones, converted lofts, and modern apartments. In Park Slope and Williamsburg, many homes still have original plaster walls with small cracks or uneven surfaces that require special care. There’s a feature of exposed brick that looks charming but requires a breathable primer and extra cleaning before painting. Renovated units often include drywall patches where old wiring or plumbing was updated; these patches absorb paint differently from the surrounding plaster. Because Brooklyn buildings were constructed in different eras, you’ll often find a mix of materials in one room. Knowing what you’re working with helps you choose the right products and techniques for a long‑lasting finish.
How to Paint a Wall Properly
The basics of wall painting are the same whether you’re in Brooklyn or anywhere else. First, clean and repair your walls so the paint will stick and look smooth. Next, prime the surface to seal it and provide an even base for your color. Finally, apply two thin coats of paint; letting each coat dry and use a brush for edges and a roller for large areas.
Assessing Your Wall: Plaster Cracks, Drywall Patches & Exposed Brick
- Check for plaster cracks: Tap the wall and listen for a solid sound; that usually means plaster. Look for hairline cracks or chips; fill and sand them before painting.
- Find drywall patches: A hollow sound often indicates drywall. Drywall seams or patched areas may soak up paint differently, so priming them helps ensure an even finish.
- Identify exposed brick: Rough, porous surfaces and visible bricks are obvious. Clean the brick thoroughly and use a masonry primer to help paint adhere without trapping moisture.
Planning and Budgeting Your Painting Project
- Define your scope and timeline: Decide which rooms you’ll paint and whether you’ll tackle ceilings, trim, or only the walls. Having a clear plan helps you estimate how much time and effort each step will take.
- Measure walls for paint quantity: Measure the length and height of each wall, then subtract the areas of windows and doors. Use these numbers to estimate how many gallons of paint and primer you’ll need.
- Set a budget for supplies: Include paint, primer, brushes, rollers, drop cloths, and patching materials. It’s cheaper to buy everything at once than to make multiple trips.
- Decide between DIY and a professional: Consider whether you have the time and skills to do the job yourself. Professionals cost more but save time and often deliver smoother results.
Choose Primer, Color, and Finish Wisely
- Match the primer to the surface: Use a high‑bonding primer for plaster or glossy surfaces, and a breathable masonry primer for brick. Stain‑blocking primers help cover dark colors or watermarks.
- Select a color that suits your space: Light colors make small Brooklyn rooms feel larger, while accent walls add personality. Always test a sample on the wall to see how light affects it throughout the day.
- Pick the right finish: Matte and eggshell finishes are great for living rooms and bedrooms because they hide imperfections. Satin finishes are ideal for hallways and high‑traffic areas, and semi‑gloss or gloss works best in kitchens and bathrooms because they stand up to moisture and are easy to clean.
Gather All the Paint and Materials Before You Start
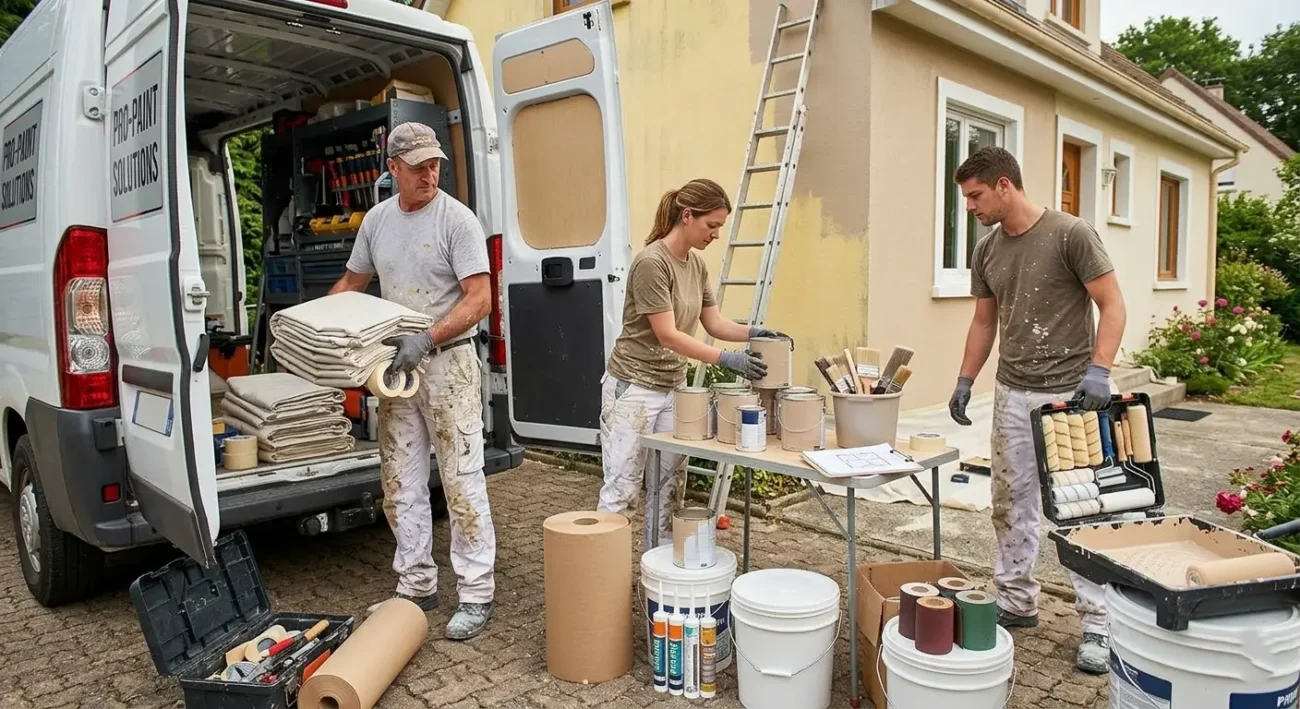
Before you start, shop for everything you need so you’re not rushing back to the store mid‑project. Make sure you have enough primer, paint, brushes, rollers, and extension poles. Don’t forget painter’s tape, drop cloths, patching compound, sandpaper, and cleaning supplies. Having all your materials ready makes the job smoother and less stressful.
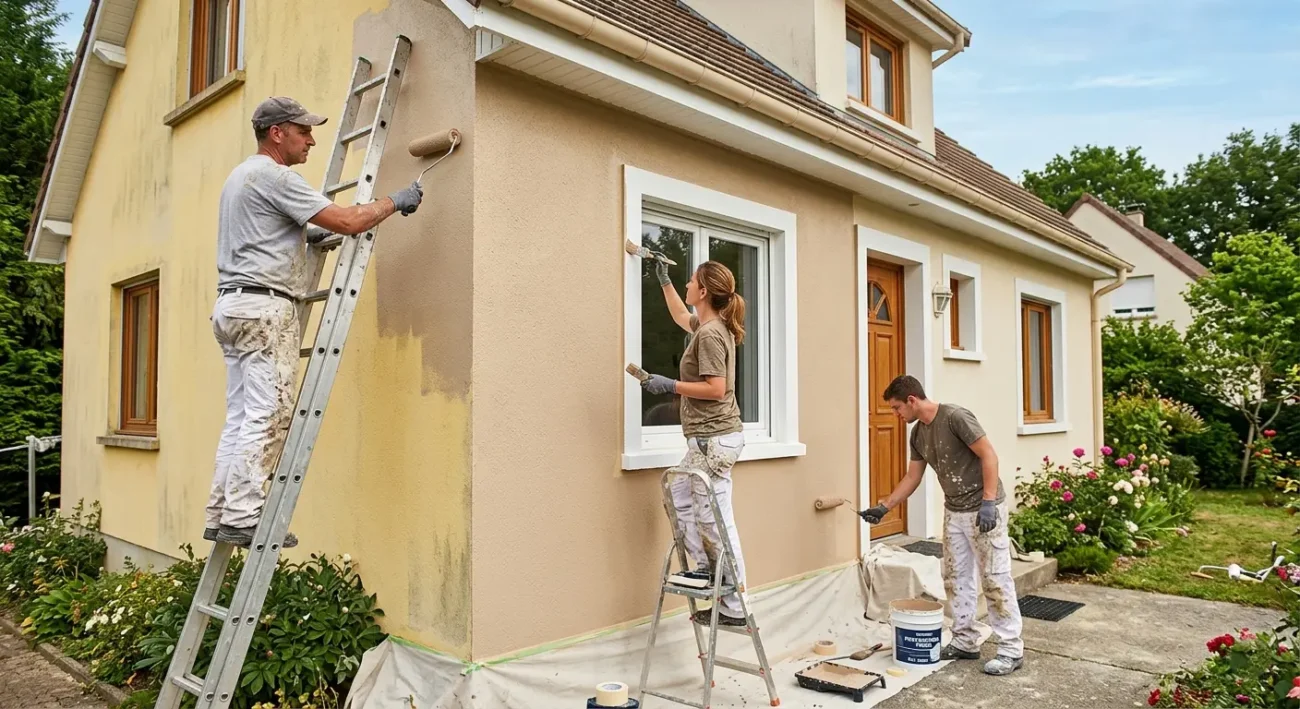
Prep Your Space: Clear, Clean, and Ventilate
- Clear and cover: Move furniture away from walls and cover it with plastic or drop cloths. Lay canvas drop cloths on the floor to protect hardwood or tile from drips.
- Wash and repair: Wipe walls with mild soap to remove dust and grime. Fill holes and cracks with spackle, then sand them smooth for a seamless finish.
- Tape and seal: Apply painter’s tape along baseboards, trim, and window frames. Press it down firmly to prevent paint from seeping underneath.
- Ventilate: Open windows and use fans to keep air circulating. Good ventilation helps paint dry evenly and reduces fumes in small rooms.
Prime Like a Pro: Cut In and Roll in Sections
Start by “cutting in” around edges and corners with a 2‑inch angled brush. Paint a border about two to three inches wide along ceilings, baseboards, and corners so the roller can blend into it. Then use a roller to apply primer in three‑foot by three‑foot sections, moving in W or V strokes to prevent lines. Work methodically across the wall, keeping a wet edge so the primer blends smoothly. Let the primer dry completely before moving on to paint.
Apply Paint: First Coat, Second Coat, and Drying Times
- First coat: Cut in the edges again with a brush, then roll paint onto the wall in W or M patterns. Start at the top and work your way down, keeping the roller loaded and maintaining a wet edge.
- Dry time: Let the first coat dry according to the paint manufacturer’s instructions—usually a few hours in moderate humidity. Using fans or opening windows can speed up this process.
- Second coat: Repeat the cut‑in and rolling process. This coat deepens the color and covers any missed spots, resulting in a clean, even finish.
- Final dry and cure: After the second coat, allow the paint to dry fully and cure for one to two weeks. Avoid heavy cleaning or hanging artwork until the paint has hardened.
Remove Painter’s Tape Carefully
- Wait for the right moment: Don’t rush to peel off the tape while the paint is still wet. If you wait until the paint is dry but not fully cured, the edges will be crisper and less likely to tear.
- Pull at a 45‑degree angle: Gently lift the tape and pull it back on itself at a forty-five-degree angle. This keeps the edge sharp and helps the tape release without ripping the new paint.
- Use a utility knife if needed: If the paint forms a film over the tape, slice the edge lightly with a sharp knife. Cutting breaks the seal, allowing the tape to lift cleanly without pulling up paint.
- Take your time: Slow, steady movements reduce the risk of damage. If you feel resistance, stop and score the tape again rather than forcing it.
Clean Up the Space
- Wash your brushes and rollers right away: Cleaning tools before the paint dries makes them last longer. Use warm water for latex paints and the proper solvent for oils, then let them air‑dry.
- Fold up drop cloths carefully, then shake off dust and debris outside before storing them. Properly folded clothes will be ready for your next project and won’t track paint residue through the house.
- Reattach outlet covers and hardware: Once the paint is dry to the touch, reinstall switch plates, outlet covers, and curtain hardware. It makes the room look finished and prevents small parts from being misplaced.
- Dispose of waste responsibly: Empty paint cans and used painter’s tape should be thrown away according to local regulations. Brooklyn has specific rules for hazardous waste, so check the city guidelines.
- Reset your furniture: Carefully move everything back into place so you don’t scuff the walls. Use felt pads or sliders to protect your floors and the freshly painted surface.
Let the Paint Cure
- Understand drying versus curing: Dry paint feels hard on the surface after a few hours, but it takes about one to two weeks to fully cure. Curing allows the paint to reach maximum hardness and durability.
- Avoid heavy cleaning: During the curing period, don’t scrub or wash the walls. Light dusting is fine, but harsh chemicals or scrubbing can damage the still‑soft finish.
- Keep humidity in check: Excess moisture slows curing and can affect the final appearance. If possible, use a dehumidifier or open windows when the weather is dry.
- Give furniture some space: Leave a small gap between your furniture and the walls until the paint has cured. This prevents marks or scratches while the surface is still soft.
- Be patient for the best results: Even though it’s tempting to hang artwork right away, waiting ensures the paint cures evenly. A little patience now will pay off with a long‑lasting finish.
How Much Paint Do I Need to Cover a 10 × 12 Park Slope Bedroom?
To estimate paint for a 10 × 12 bedroom, measure each wall’s width and height, then multiply them to get the square footage. A standard room this size has roughly 400–450 square feet of wall area, excluding windows and doors. A gallon of quality latex paint usually covers about 350–400 square feet per coat. Because you’ll want at least two coats for even coverage, plan on two gallons of paint plus a little extra for touch‑ups. It’s always better to have a bit left over than to run out in the middle of your project.
When Is the Best Season to Paint Interiors in Brooklyn’s Climate?
Spring and early fall are ideal times to paint indoors in Brooklyn because humidity levels are moderate and windows can be opened for ventilation. Summer’s high humidity slows drying and can lead to streaks or peeling, while winter’s dry heat speeds up drying but makes it hard to ventilate. Painting during April–June or September–October allows you to take advantage of mild temperatures and fresh air. If you must paint in winter, consider using fans and a humidifier to balance the dry indoor air. No matter the season, maintaining airflow helps the paint dry evenly.
Do I Need to Follow NYC’s Local Law 1 for Lead Paint Safety When Repainting?
- Know the basics of Local Law 1: In New York City, Local Law 1 requires landlords to address lead‑based paint hazards in buildings built before 1960 and, in some cases, those built between 1960 and 1978. If a child under six lives in the home, the law mandates lead‑safe work practices.
- Test for lead before starting: If your building was built before 1960, it’s smart to have the paint tested. Certified professionals can determine if lead is present and advise on proper removal or encapsulation.
- Use lead‑safe methods: When lead is present, workers must contain dust, use proper protective gear, and avoid sanding or scraping paint without HEPA filtration. DIY projects must follow the same precautions to avoid contaminating your home.
- Notify your landlord: Renters should inform their landlord before repainting to ensure compliance with Local Law 1. Landlords are responsible for correcting lead hazards and may prefer to hire certified contractors.
- Dispose of waste properly: Lead‑contaminated debris must be disposed of in accordance with city regulations. Don’t throw it in regular trash; instead, use designated disposal services to protect your household and neighborhood.
Are Low‑VOC Paints Worth the Cost for Small Brooklyn Apartments?
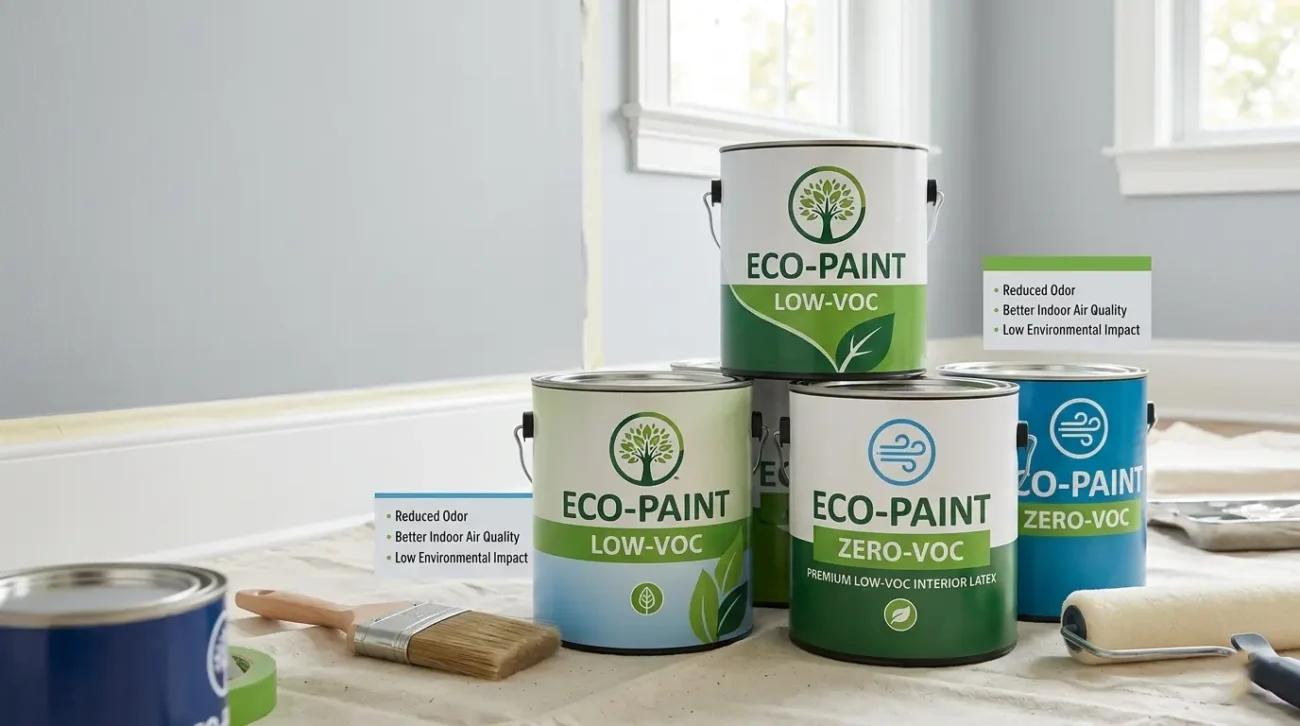
Low‑VOC (volatile organic compound) paints release fewer fumes than traditional latex paints, making them safer for occupants and better for indoor air quality. In small Brooklyn apartments with limited ventilation, low‑VOC or zero‑VOC products can help prevent lingering chemical smells. While these paints may cost slightly more upfront, they reduce health risks and allow rooms to be reoccupied sooner. Modern low‑VOC paints are as durable and long‑lasting as conventional options, so you don’t sacrifice quality. For renters or homeowners concerned about air quality, the benefits often justify the added expense.
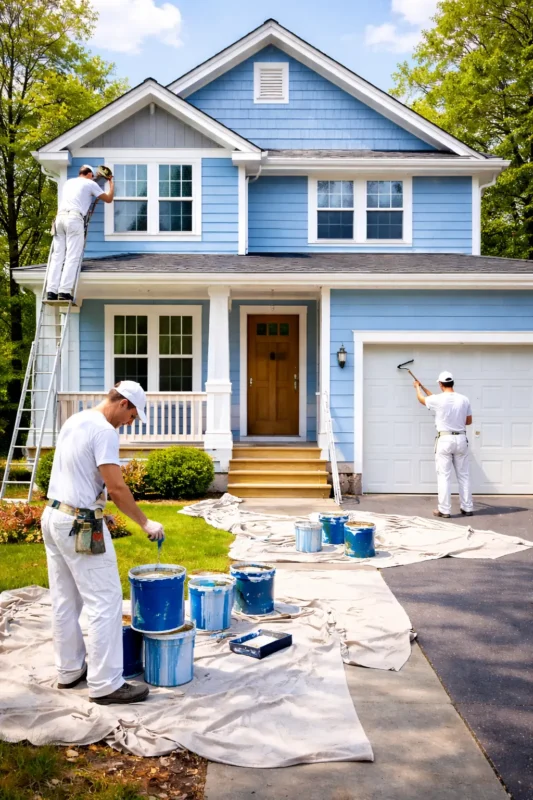
How to Hire a Professional Wall Painter in Brooklyn, NYC
Hiring a professional painter can save you time, stress, and ensure a flawless finish; especially when you’re dealing with large projects or tricky pre‑war walls. In Brooklyn, the right contractor will understand local building quirks, follow city regulations, and help you choose the best products for your space.
- Look for specialized residential experience and local knowledge. Choose companies that focus on interior painting and understand Brooklyn’s architecture and climate. Local pros know how to work with plaster, drywall, and exposed brick, common in brownstones.
- Check licensing, insurance, and lead certification. A reputable painter will carry a NYC Home Improvement Contractor license, liability insurance, and certification for lead‑safe work. This protects you and ensures compliance with city laws.
- Research reputation and reviews. Read verified customer reviews and ask to see a portfolio of completed projects. Referrals from neighbors, real‑estate agents, or interior designers can also be valuable.
- Get multiple estimates and compare proposals. Create a shortlist of local companies, then request on‑site estimates and detailed written proposals. Compare the scope of work, timeline, materials, and price before making a decision.
- Prioritize clear communication. A good painter will explain the process, provide a contract, and outline repair needs and service guarantees. Make sure you feel comfortable asking questions and discussing changes.
- Promote your trusted contractor. SR General Construction, NYC, is fully licensed and has over 15 years of experience upgrading electrical systems and roofing in Brooklyn. We’ve completed more than 750 projects for 500+ satisfied clients, and we offer 24/7 support to keep your home safe and powered.
Where to Find the Best Brooklyn Contractors
Are you looking for an expert contractor in Brooklyn, NYC? SR General Construction has you covered! Our business is located at 8807 Avenue B, Brooklyn, NY 11236, United States, in the Canarsie area.
Additionally, we offer services at Rockaway Parkway and Ralph Avenue, providing fast access to Flatlands, East Flatbush, Bergen Beach, Brownsville, and the Spring Creek section of East New York.
FAQ
1. What’s the cost to paint a home in NYC?
Painting costs depend on your apartment’s size, ceiling height, and paint quality. Undertone Interiors notes that studios and one‑bedroom units often cost $1,200–$2,000, two‑bedrooms $2,000–$3,500, and larger homes $3,500+, including prep work and two coats of premium low‑VOC paint.
2. How long does it take to paint a NYC apartment?
Small apartments and single rooms can often be completed in one day, while full apartments take two to three days. The timeline depends on the scope of work, wall condition, and number of coats.
3. Do I need a permit to paint my apartment?
Most interior projects don’t require a city permit, but co‑ops and condos may ask for a Certificate of Insurance, and historic buildings might have extra rules. Exterior work involving scaffolding can require permits.
4. Should I worry about lead paint in older buildings?
Homes built before 1978 often contain lead‑based paint. NYC’s Local Law 1 requires lead‑safe work practices, and reputable painting contractors will be EPA‑certified and follow proper containment and cleanup methods.
5. What kind of paint should I use?
Professionals recommend low‑ or zero‑VOC paints to improve indoor air quality in older buildings. Brands like Benjamin Moore, Sherwin‑Williams, and eco‑friendly options are popular choices.