

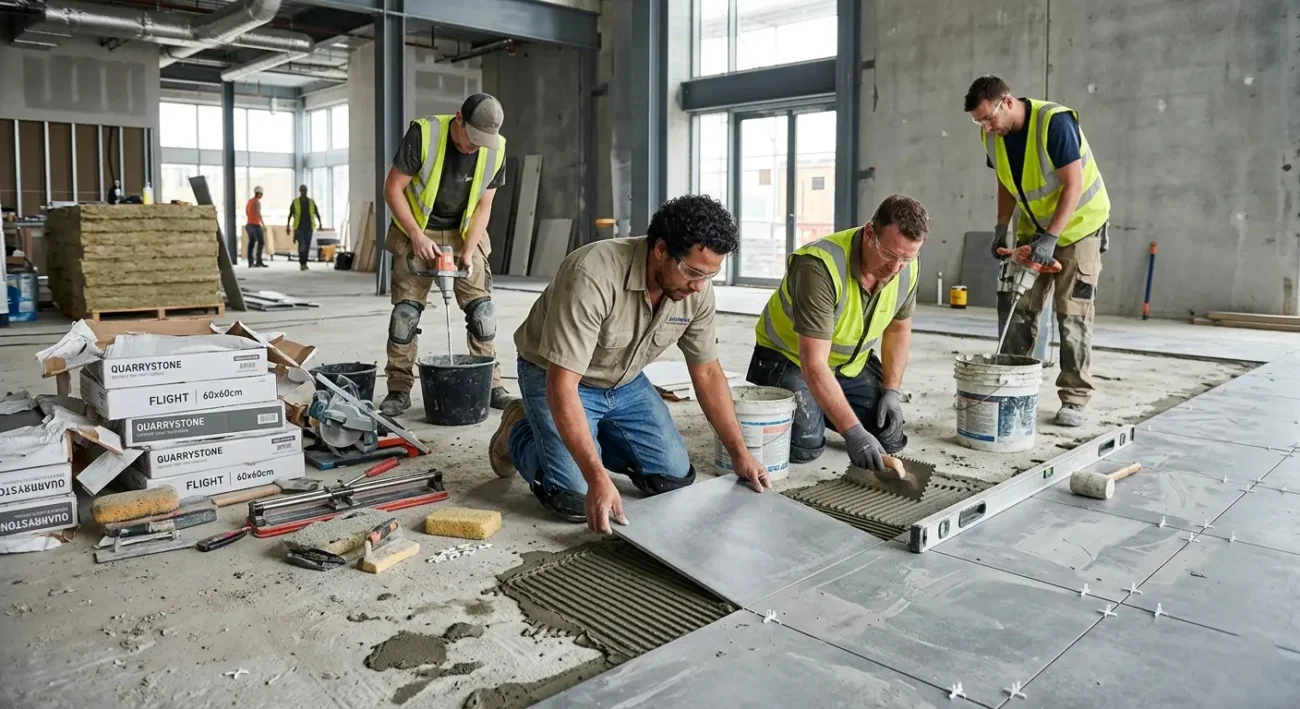
Have you ever wondered why some tile floors in Brooklyn last for decades while others start cracking or loosening within a year?
Quality installation is critical in Brooklyn’s older buildings, where uneven subfloors and moisture-prone bathrooms can challenge the durability of tile floors.
This guide explains the essential steps for floor tile installation in Brooklyn, from selecting materials to preparing subfloors, executing professional techniques, and addressing common issues found in local homes.
What is floor tile installation, and why is it important in Brooklyn
Floor tile installation is the process of preparing a solid base, setting tiles in mortar, and filling the joints with grout to create a strong, level walking surface. It covers everything from checking the subfloor and adding underlayment to laying the tile pattern and sealing the finished floor. In Brooklyn, many homes are in older buildings with uneven floors, wood joists, and small, moisture-prone bathrooms, so careful installation helps prevent cracks, loose tiles, and leaks over time. When the work follows industry standards like TCNA and ANSI, your floor is safer, longer-lasting, and more likely to pass building and co-op rules.
The Right Floor Tile Materials
The tile you choose determines how your floor will look, feel, and hold up in your Brooklyn home. Think about where the tile will go, how wet the area gets, and how much foot traffic the room sees.
- Ceramic floor tile
- Porcelain floor tile
- Natural stone tile (marble, granite, slate)
- Mosaic floor tile
- Wood-look porcelain tile
- Slip-resistant or textured floor tile
Is Your Subfloor Ready? Structural & Substrate Checks for NYC Buildings
The subfloor is the base under your tile, and it needs to be strong, flat, and dry before anyone opens a bag of mortar. In Brooklyn and the rest of NYC, that subfloor might be an old concrete slab, plywood over joists, or a patchwork of past repairs, so checking its condition is a must. You want to look for movement, squeaks, soft spots, high or low areas, and signs of moisture.
If the floor is not stiff or flat enough, tiles can crack, grout can crumble, or tiles can sound hollow and come loose. Many pros follow TCNA and ANSI guidelines for joist spacing, subfloor thickness, and flatness, and they add backer board, self-leveling compound, or membranes when the existing base does not meet those standards.
Planning Your Floor Tile Layout for Small Brooklyn Rooms
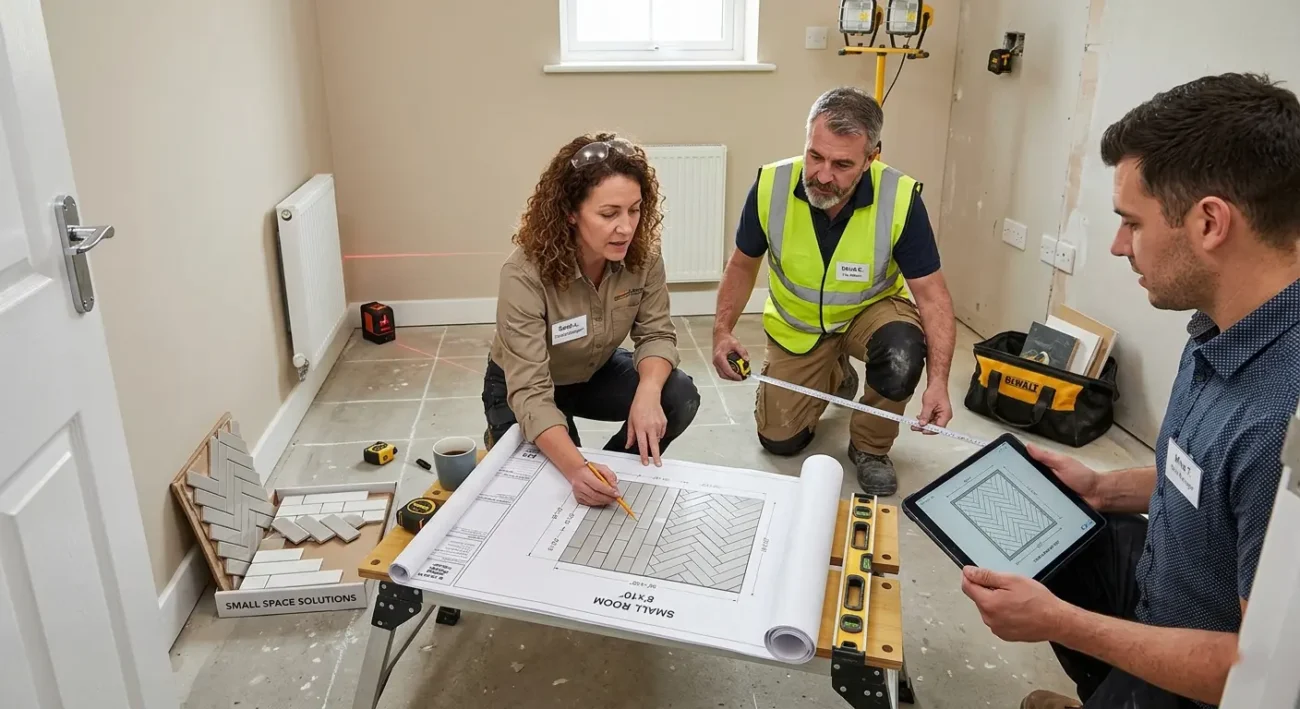
In small Brooklyn kitchens and bathrooms, layout can make a room feel larger and more balanced or cramped and uneven. A little planning helps you avoid thin “sliver” cuts at the walls and awkward lines at the doorway.
- Find the center and main sight lines: Start by measuring the room and snapping lines to find the center and key viewing angles, usually from the doorway. This keeps your pattern balanced and stops all the cut tiles from ending up on one side of the room.
- Dry-lay a test pattern: Lay a few tiles on the floor without mortar to test the pattern and joint size. This shows you where the cuts will fall and whether you need to shift the layout slightly to achieve better symmetry.
- Avoid tiny edge cuts: If you see very skinny cuts at a wall or tub, adjust your layout by half a tile so both sides share the cuts. This looks cleaner and reduces breakage during cutting and installation.
- Plan around doors, radiators, and fixtures: Check where tiles meet doorways, radiators, and plumbing fixtures common in Brooklyn apartments. Make sure the pattern looks intentional at these points, since they draw the eye when you walk into the room.
- Match transitions to nearby rooms: Think about how the tile lines will meet wood, vinyl, or carpet in the next space. A straight, well-placed transition at the threshold makes the whole apartment feel more planned and higher-end.
Step-by-Step Overview of Floor Tile Installation: From Bare Sub-floor to Finished Tile Floor
Before you dive into the details, it helps to see the whole journey from rough subfloor to a clean, finished tile floor. Here’s the big picture most pros follow when they work in Brooklyn homes and apartments.
1. Prepare and repair the subfloor: You or your installer cleans the floor, removes old flooring, and fixes loose panels, cracks, and soft spots. The goal is a solid, squeak-free, reasonably flat surface that meets tile industry standards.
2. Level the surface and add underlayment or membranes: Any dips or high spots get corrected with a patch or self-leveling compound. Backer board, uncoupling, crack-isolation, waterproof, or sound-control membranes may go down next, depending on the room and building rules.
3. Plan and dry-lay the tile layout: The layout lines go on the floor, usually centered in the room or aligned with a main wall. A dry run with actual tiles shows how the pattern, cuts, and grout joints will look before the mortar comes out.
4. Mix and spread the thinset mortar: Mortar is mixed to the right consistency and combed onto the floor with a notched trowel. For large or heavy tiles, the installer often “back-butters” the tile backs to improve coverage and bond.
5. Set tiles, use spacers, and check for lippage: Tiles go into the fresh mortar following the layout lines, with spacers or leveling clips to keep joints even. The installer checks the surface with a straightedge and a level to ensure no tile edge is higher than its neighbor.
6. Let the mortar cure before grouting: Once all tiles are set, the floor rests so the thinset can harden and bond to the subfloor, usually 24–48 hours depending on product and conditions. Walking on the floor too soon can shift tiles and weaken the installation.
7. Grout the joints and clean the surface: Spacers come out, joints are cleaned, and grout is packed between the tiles. After a short set time, the installer wipes off excess with a damp sponge, then removes any remaining haze once the grout firms up.
8. Seal, caulk, and finish the details: If needed, grout and natural stone get sealed after they cure, and flexible caulk goes on tubs, walls, and changes of plane. Thresholds, trim pieces, and a final cleaning finish the floor, making it ready for daily use.
How long does floor tile installation take?
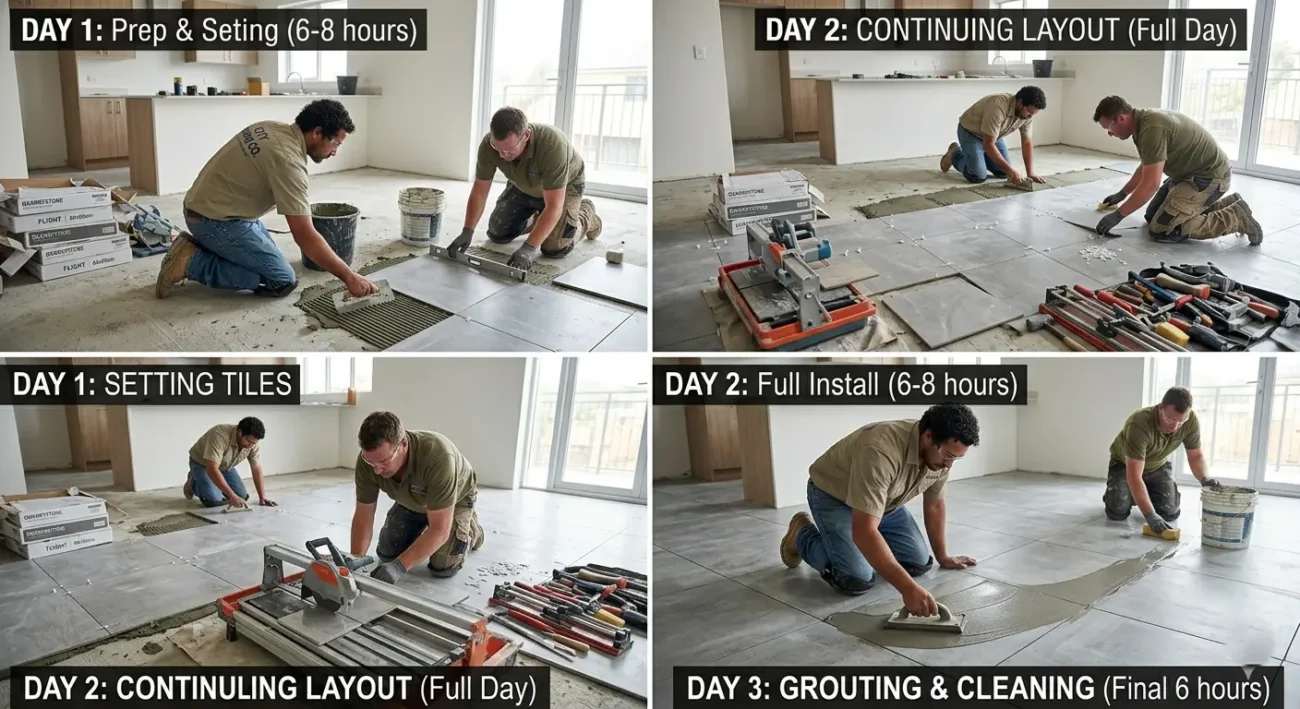
For a small Brooklyn bathroom or kitchen, the active installation work often takes 1 to 2 days, depending on the extent of subfloor repair and cutting. After the tiles are set, you normally wait at least 24 hours before walking on them so the thinset can cure, and another 24–72 hours after grouting before heavy use or moving furniture. The exact timing depends on the mortar and grout types, tile size, and the temperature and humidity in your apartment, so a good installer will give you a clear schedule to follow.
Floor Tile Installation Costs in Brooklyn, NYC (Per Sq. Ft.)
| Type of floor tile installation | Typical installed cost (per sq ft) | What this usually includes |
|---|---|---|
| Basic ceramic floor tile (straight pattern) | $10 – $15 | Mid-grade ceramic tile, thinset, grout, and basic labor over a sound, fairly flat subfloor. |
| Standard porcelain floor tile | $12 – $20 | Porcelain tile, mortar, grout, and labor in a simple layout (kitchen, hallway, or bathroom). |
| Large-format or wood-look porcelain | $18 – $25 | Larger tiles that need extra prep, leveling, and careful setting to control lippage. |
| Natural stone floor tile (marble, granite, slate) | $20 – $35+ | Stone tile, appropriate mortar, grout, sealing, and more detailed cutting and layout. |
| Small mosaic or specialty patterns (herringbone, diagonal) | $18 – $30 | More cuts and higher labor time for complex layouts and lots of grout joints. |
| Brooklyn bathroom floor tile (high-moisture) | $16 – $22 | Typical small bathroom floor with extra detailing, cuts, and basic waterproofing. |
| Labor-only (you supply the tile) | $6 – $12 | Professional installation using your tile, assuming minimal subfloor repair. |
| Tile removal and disposal (existing floor) | $4 – $7 | Breaking up old tile, hauling debris out of the building, and legal disposal. |
| Subfloor repair and self-leveling (add-on) | +$2 – $5 | Fixing soft spots, installing underlayment, and using leveling compound where needed. |
| Waterproof / uncoupling / sound membranes (add-on) | +$3 – $7 | Roll-on or sheet membranes to control cracks, moisture, and noise transfer between floors. |
| Radiant heated tile floor (materials + extra labor) | $18 – $30 | Heating mats or cables under tile, plus careful layout and electrical coordination. |
| High-end designer or luxury tile installations | $25 – $50+ | Premium or imported tile, intricate layouts, and master-level craftsmanship. |
Bathroom & Kitchen Floor Tile Installation in High-Moisture NYC Areas
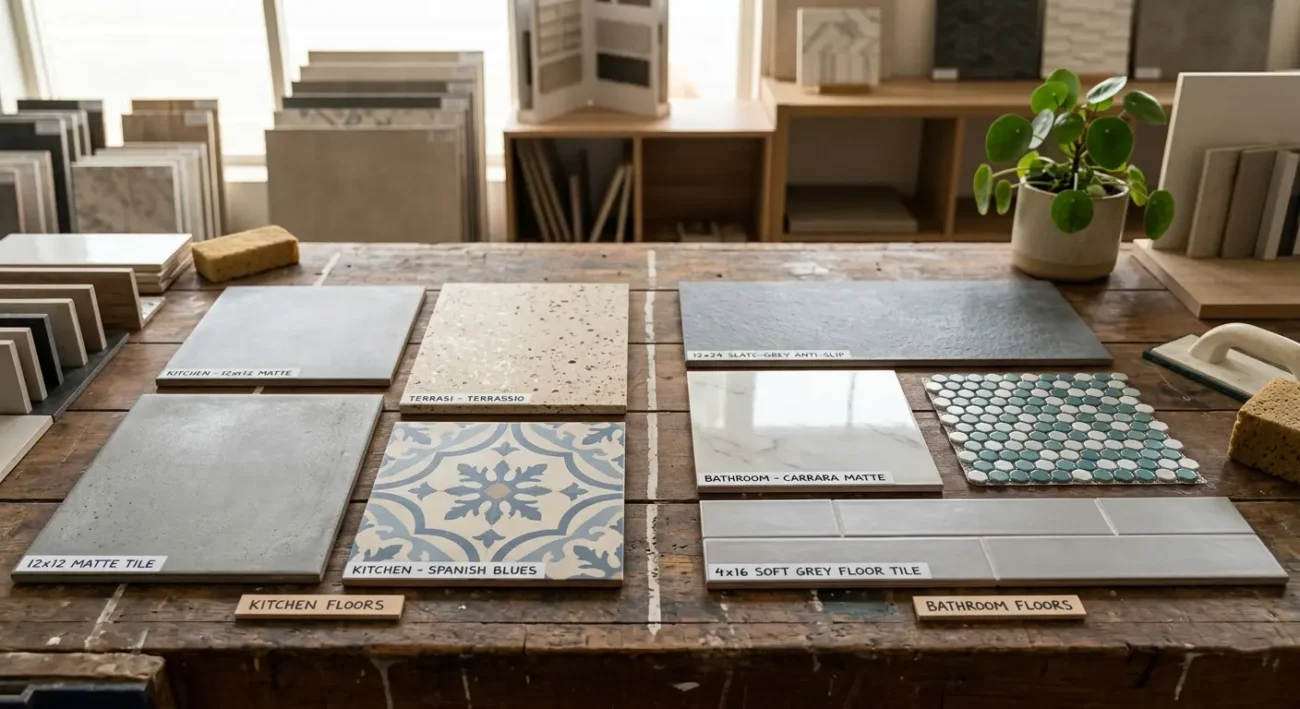
Bathrooms and kitchens in NYC, especially in older Brooklyn buildings, see constant steam, spills, and leaks. If we don’t plan for that moisture, water can sneak through grout lines or cracks and soak into wood subfloors, leading to swelling, mold, and loose tiles. A proper installation in these rooms usually includes waterproofing the floor and at least the wettest zones around tubs, showers, and sinks. Many modern waterproof and uncoupling membranes create a barrier that stops water from reaching the substrate while also helping manage movement in the structure.
Types of Best Floor Tiles
When you choose floor tile for a Brooklyn home, you want something that can handle city life: heavy foot traffic, wet shoes, pets, and tight spaces. Let’s look at some of the best options people use again and again in NYC apartments and brownstones.
- Porcelain floor tile: Porcelain is dense, hard, and has very low water absorption, making it well-suited for bathrooms, kitchens, and entryways. It’s a great fit for busy Brooklyn homes where you want durability and easy cleaning.
- Ceramic floor tile: Ceramic works well in moderate-traffic rooms or spaces that do not stay wet all day. It’s usually more budget-friendly and offers lots of colors and styles, which helps when you are remodeling on a tight budget.
- Natural stone tile (marble, granite, slate): Stone tile gives you a high-end, classic look that suits many Brooklyn brownstones and pre-war apartments. It needs more care, including sealing and gentle cleaners, but it can look amazing when maintained well.
- Wood-look porcelain tile: This tile mimics hardwood flooring but keeps the water resistance and strength of porcelain. It’s ideal if you want the look of wood in kitchens or bathrooms without worrying about water damage.
- Mosaic and small-format floor tile: Small tiles, like hexagons or penny rounds, add grip and character, and they follow slopes better around drains and tricky corners. You’ll see them often in Brooklyn bathrooms because they work well in small, tight spaces.
- Slip-resistant or textured floor tile: These tiles have a textured surface or special finish that helps reduce slipping in wet areas. They are a smart choice near showers, sinks, and building entries where water and street slush are common.
Which is better for NYC homes: ceramic or porcelain floor tile?
If you want the toughest option for NYC life, porcelain usually wins because it absorbs less water and resists chips and scratches better than standard ceramic. That makes porcelain especially good for bathrooms, kitchens, and hallways where people walk in with wet shoes or where spills happen often. Ceramic still has a place in lower-traffic rooms or where budget is the main concern, and it offers plenty of style choices. In many Brooklyn homes, a mix works well: porcelain for the hardest-working spaces and ceramic for lighter-use areas.
Do I need a waterproof or uncoupling membrane under my floor tile in a Brooklyn bathroom?
In many Brooklyn bathrooms, a waterproof or uncoupling membrane is not just “nice to have,” it’s a smart layer of insurance. Waterproof membranes stop moisture from reaching wood or gypsum-based subfloors, which helps prevent rot and mold under the tile. Uncoupling membranes act as a buffer between the tile and the subfloor, so small movements and hairline cracks in the structure don’t transfer straight into the tile. In an older NYC building where floors move and moisture is common, combining these features can greatly improve the life of your tile floor.
NYC Codes, Brooklyn Building Rules & Permits for Tiling Projects
- NYC Department of Buildings (DOB) permits: Simple “tile swap” jobs with no plumbing, electrical, or layout changes often do not need a permit, but larger bathroom and kitchen renovations usually do. When you move fixtures, open walls, or change plumbing or electrical, NYC typically treats that as permit work under the DOB.
- Plans and licensed design professionals: For bigger projects, you may need drawings filed by a New York State–licensed architect or engineer before work starts. This helps show the DOB that the work will follow building and safety codes.
- Co-op and condo board approvals: Many Brooklyn co-ops and condos require an alteration agreement, proof of insurance, and specific sound and waterproofing measures before you start tiling. Boards may also limit work hours and require you to use only licensed, insured contractors.
- Noise, sound, and waterproofing rules: Some buildings have minimum sound-control standards for floors above neighbors and strict waterproofing requirements for wet areas. Using sound-reduction and waterproof membranes under your tile can help you meet those internal rules and avoid future disputes.
- Inspection and sign-off: When a permit is required, the DOB or a design professional may need to inspect the work and sign off before the project is officially closed. Working with a contractor who understands this process can save you time and headaches.
Must-Know Tips to Avoid Common Floor Tile Installation Mistakes
Even in a small Brooklyn bathroom, a few simple mistakes can lead to cracked tiles, uneven floors, or leaks that upset downstairs neighbors. Let’s walk through some key tips to help you avoid the problems pros see again and again.
- Don’t skip proper subfloor prep: Make sure the old flooring comes up, the base is clean and dry, and weak or damaged areas are fixed before you start. Poor prep is a leading cause of hollow tiles, cracks, and grout failure.
- Use the right adhesive and trowel size: Match your thinset mortar and trowel notch to the tile size and substrate. The wrong combo can leave voids under the tile and cause loose spots or breakage later.
- Control lippage and keep tiles level: Check the floor with a straightedge as you go and use tile leveling systems when needed. This reduces trip hazards and gives your floor a smooth, professional look.
- Add movement and expansion joints where needed: Leave gaps at walls, doorways, and transitions so the tile can move slightly with changes in temperature and structure. Tight, rigid edges can force tiles to tent, crack, or push against each other.
- Waterproof high-moisture areas properly: In bathrooms and around kitchen sinks, use the appropriate waterproofing products and follow the manufacturer’s instructions. Skipping this step can lead to water damage you don’t see until it becomes a big, expensive problem.
- Respect curing times for mortar and grout: Avoid walking on fresh tile or washing the floor too soon. If you rush the cure, the bond can weaken, and joints can crack much earlier than they should.
Professional Floor Tile Installation in Brooklyn
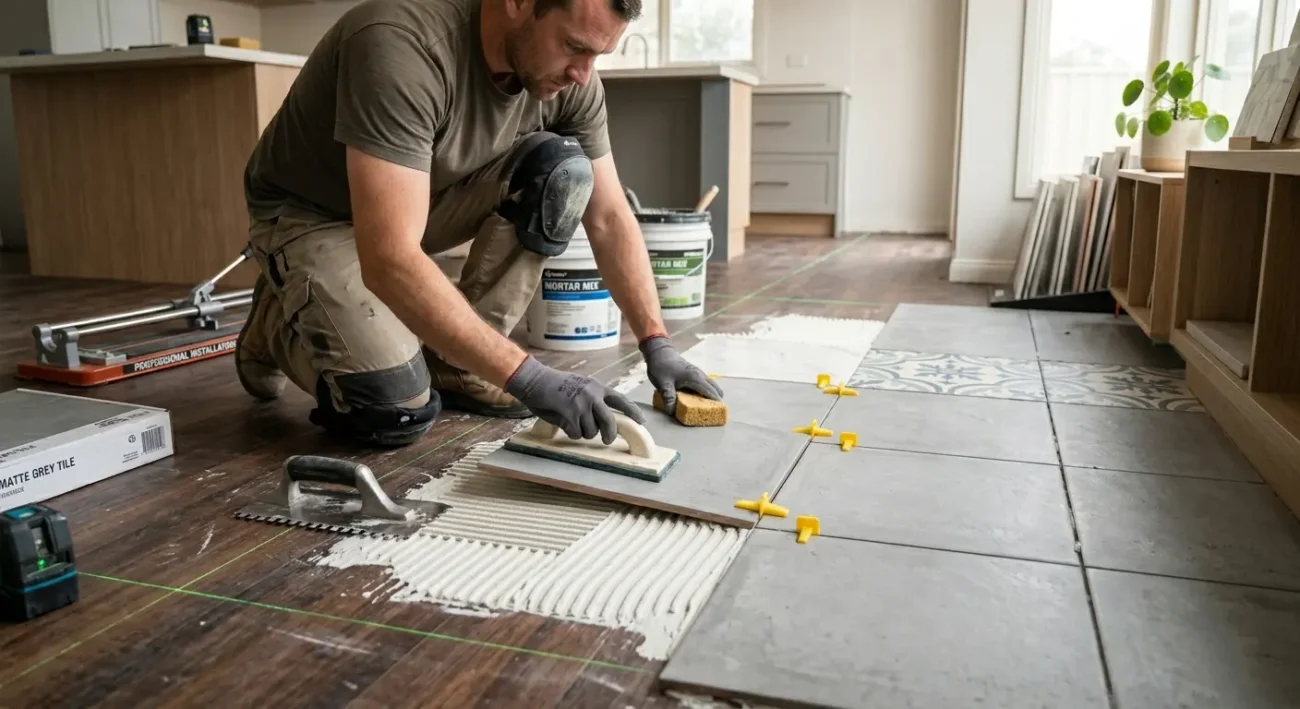
If you live in Brooklyn, you already know every building feels a bit different: one apartment sits over a neighbor’s bedroom, another has a sloped brownstone floor from the 1920s. That’s why a good tile installer here needs more than basic skills — they need local experience, code knowledge, and solid training.
- Proper licensing and insurance: A Brooklyn tile contractor should hold the required NYC home improvement license and carry general liability and workers’ compensation insurance. This protects you, your building, and your neighbors if anything goes wrong during the job.
- Training, standards, and certifications: Look for installers who follow TCNA and ANSI standards and who pursue training through programs like the Certified Tile Installer (CTI) and other industry certifications. These programs verify that an installer can handle prep, layout, cutting, waterproofing, and finishing at a professional level.
- Experience with NYC codes and building rules: A local pro should be comfortable working with NYC DOB requirements and your building’s alteration rules. That includes knowing when permits are needed, how to document the work, and how to coordinate inspections and sign-offs.
- Knowledge of Brooklyn building types: From brownstones with creaky wood joists to high-rise condos with strict sound rules, Brooklyn floors need different prep and detailing. An experienced installer can choose the right membranes, underlayments, and tile types for each structure.
- Proven local company you can call anytime: SR General Construction, NYC, is fully licensed and has over 15 years of experience upgrading floor issues and roofing, plus full renovations in Brooklyn. We’ve completed more than 750 projects for 500+ satisfied clients, and we offer 24/7 support to help keep your home safe and your tile floors performing the way they should.
Where to Find the Best Brooklyn Contractors
Are you looking for an expert contractor in Brooklyn, NYC? SR General Construction has you covered! Our business is located at 8807 Avenue B, Brooklyn, NY 11236, United States, in the Canarsie area.
Additionally, we offer services at Rockaway Parkway and Ralph Avenue, providing fast access to Flatlands, East Flatbush, Bergen Beach, Brownsville, and the Spring Creek section of East New York.
FAQ
1. What is floor tile installation?
Floor tile installation is the process of preparing the subfloor, spreading mortar, setting tiles in a planned layout, and filling the joints with grout. Done right, it creates a durable, level, and water-resistant walking surface that can last for decades.
2. How much does floor tile installation cost per square foot in Brooklyn, NYC?
Most Brooklyn projects fall roughly between $10 and $25 per sq ft installed, with simple ceramic jobs at the lower end and complex stone or designer layouts at the top. High-end or highly detailed work can go higher, especially in tight spaces or buildings with tricky access.
3. How long does it take to install a tile floor?
A small Brooklyn bathroom or kitchen often takes 1–3 days for setting tile, plus extra time for mortar and grout to cure before full use. Larger rooms, complex patterns, or heavy prep work can stretch the schedule.
4. Can I install floor tile myself, or should I hire a pro?
You can DIY a small, simple room if you are patient, follow a clear guide, and use the right tools. For uneven NYC floors, waterproofing, or high-end tile, a licensed pro with tile training is usually the safer choice.
5. What is the best tile for a small Brooklyn bathroom floor?
Many homes use porcelain tile with a matte or textured finish for grip, often in smaller sizes or mosaics that follow the slope toward a drain. Light colors and simple patterns can help the space feel bigger.
6. How long do tile floors last?
Properly installed porcelain and ceramic tile floors can last 50–100 years, and natural stone can last even longer. Most failures come from poor subfloor prep, movement, or water damage rather than the tile itself.